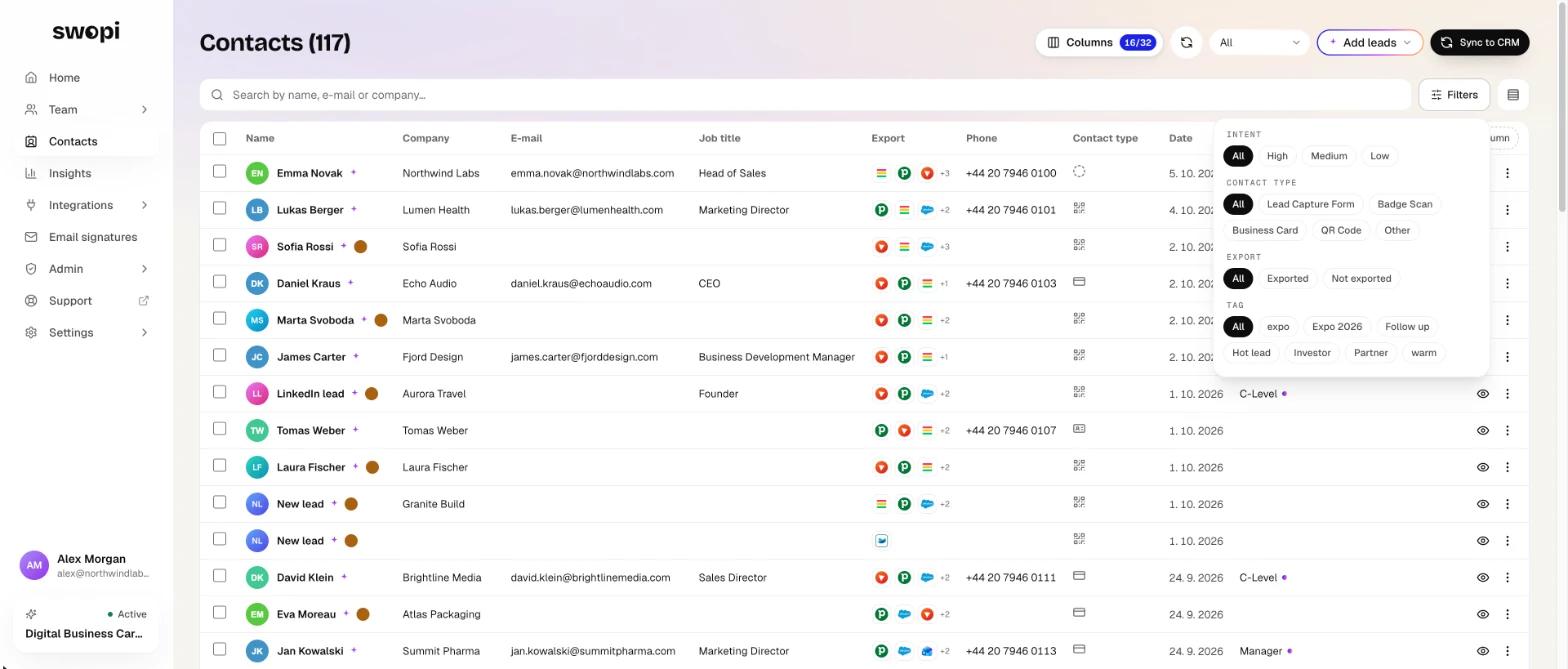
You can set up the contacts table the way you like: choose the columns, fix a value right in the cell and show only the leads you need.
#Choose columns
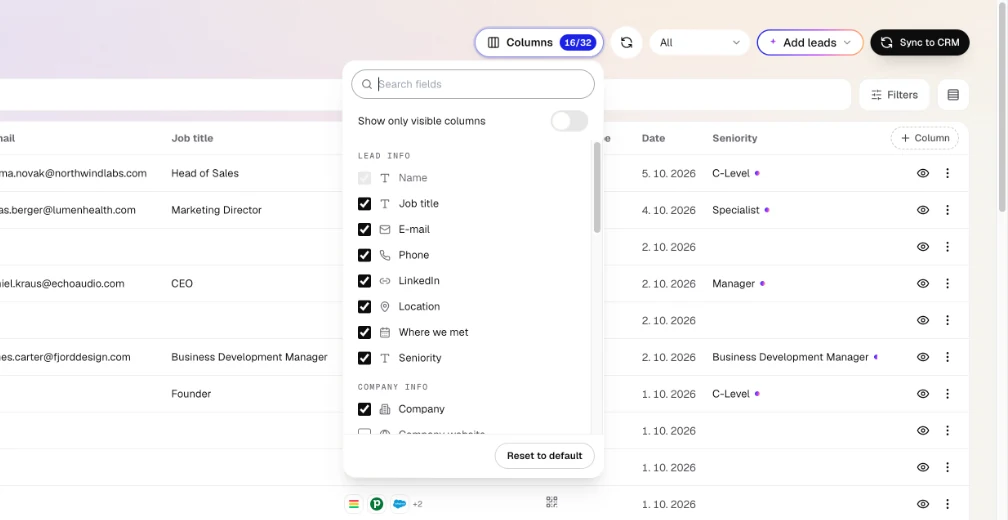
- On the Contacts page, click Columns. The number next to it shows how many fields you see out of all fields.
- Fields are in three groups: Lead info, Company info and Swopi. Tick the ones you want to see. A new column is added at the end of the table.
- Use Search fields to find a field fast.
The Column button at the end of the table header opens the same window. The Name column is always shown.
#Change the column order
- In the Columns window, turn on Show only visible columns and drag a field to a new place.
- Or grab a column header in the table and drag it.
Reset to default brings back the original columns and order. Your browser remembers your setup.
Next to the Filters button there is also Row density: Compact or Comfortable.
#Edit right in the table
- Move your mouse over a cell. If a blue frame shows up, you can edit it.
- Click and type the new value.
- Press Enter or click Apply to save. Press Esc to close without saving.
For longer text, click Expand to open a bigger window.
This works for fields like Job title, E-mail, Phone, Company and Where we met. Company fields can be edited once the lead has been enriched. A small colored dot marks a value that Swopi AI filled in.
In a team, admins and managers can edit contacts.
#Filters
Click Filters and choose what to show:
- Intent: High, Medium or Low, see Intent scoring.
- Contact type: Lead Capture Form, Badge Scan, Business Card, QR Code or Other.
- Export: Exported or Not exported.
- Tag: shows up once you have at least one tag.
The button shows how many filters are on. Clear filters turns them all off.